Wednesday, March 27, 2013

Building a Mash Tun

In my last post I mentioned (although withheld the awful details) melting my mash tun.  While that particular mash tun did the job, I immediately realized a few oversights.  I'll spare the specifics, but I wasn't too heartbroken about having to make a new one.  This post is an attempt to help fellow new brewers constructing and operating a mash tun.
Materials:
A) 10 gallon Rubbermaid water cooler. ~$50.  The cooler pictured is the "Home Depot" brand.  Notice that the tap has been removed and the rubber grommet is still in tact.
B) Teflon tape ~$2
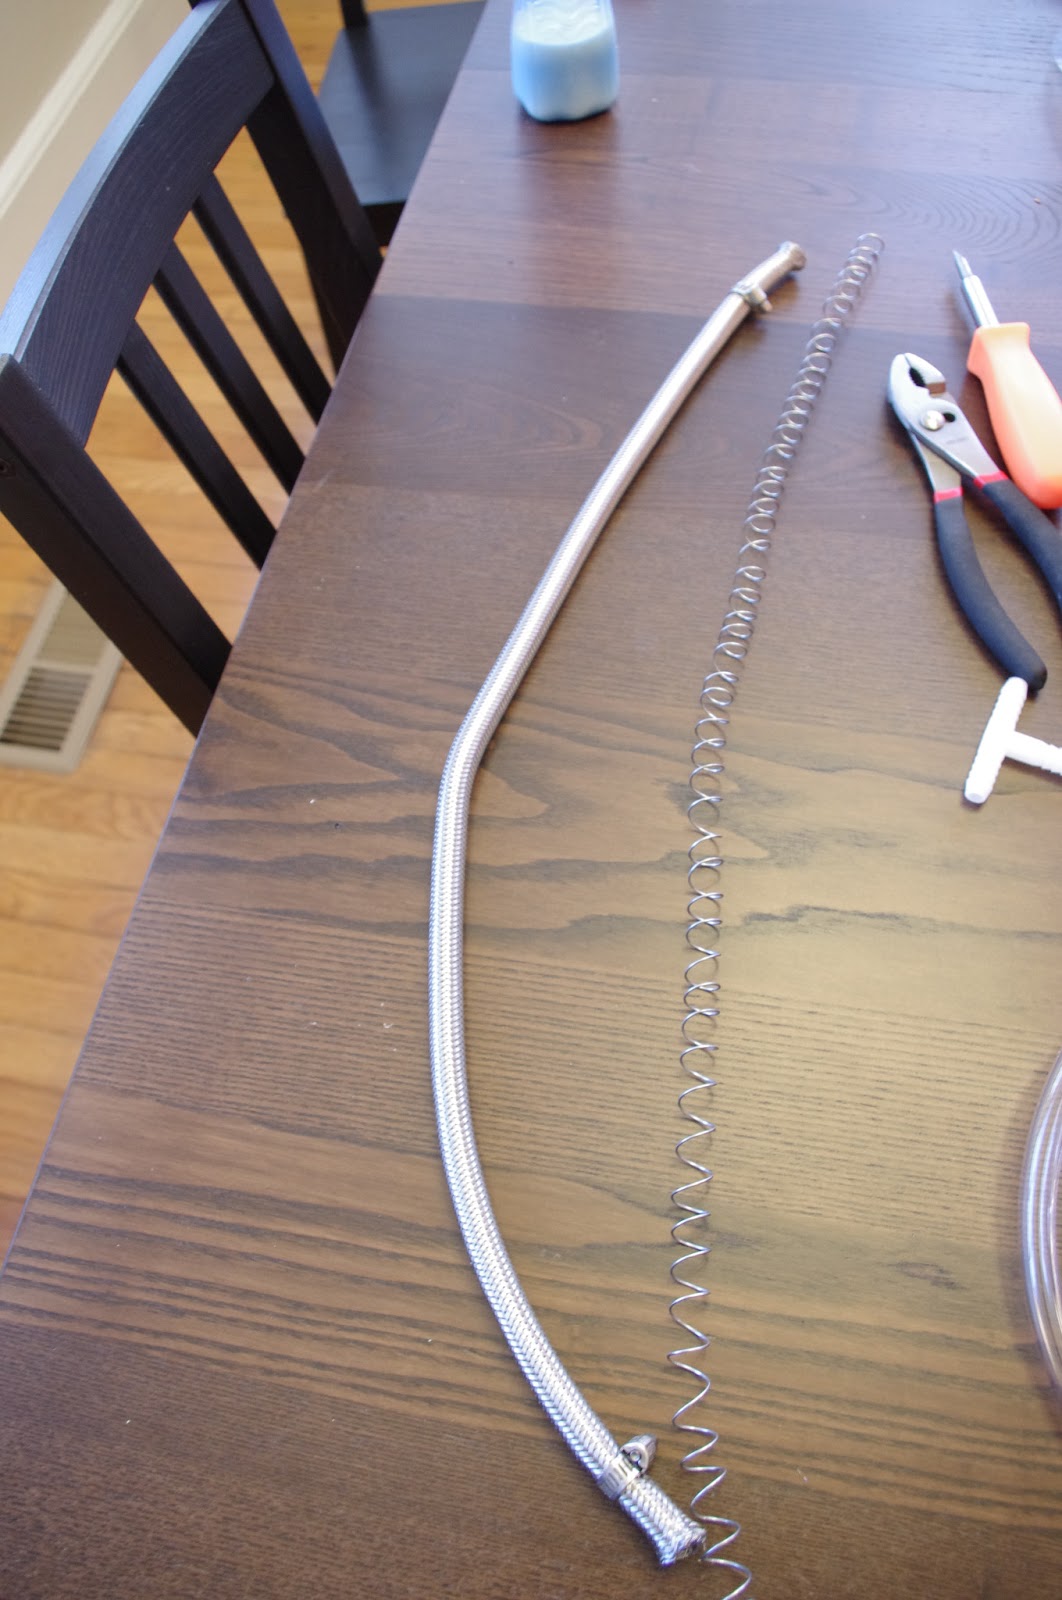
C) Framing wire. ~$3 Galvanized steel.  Used to add inner support to the mesh tube.  Can be dirty with grime from manufacturing process. Wash with soap and hot water.
D) Extra rubber washers, assortment. ~$3
E) 3/8" FIP x 1/4" FIP connector (x2) ~$5 each
F) 1/2" washer (x5) ~$0.35 each
G) 3/8" MIP "close" (x1 or 2) ~$5 each
H) 1/4" MIP "close" (x1) ~$5
I) 3/8" MIP 1 1/2" (x1 or zero) ~$5 each *buy one G and one I or two Gs or two Is.
J) 3/8" FIP (both ends) valve + 3/8" MIP threaded hose  barb (x2) ~$8 for valve, ~$5 for barbs.
K) Bathroom sink hose, stainless steel mesh coated ~$15
L) "T" vinyl hose barb ~$3
other L) Hose ~$8

Steps:

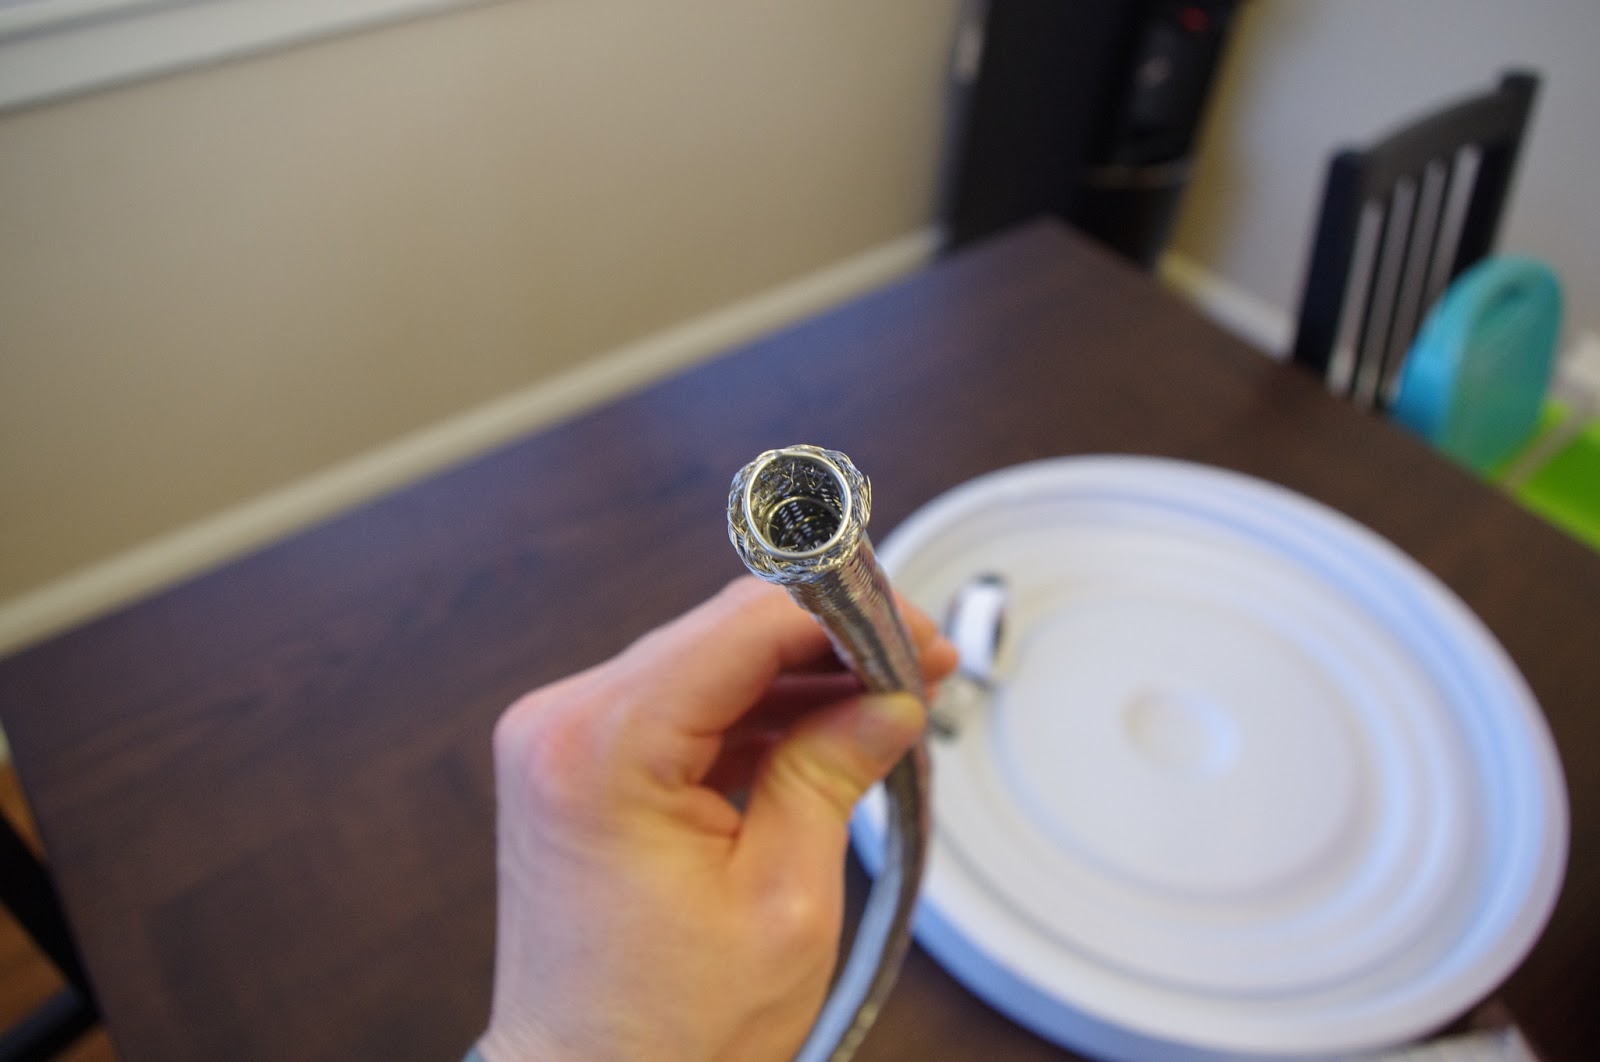
1)Wind the framing wire around a pen or marker, then gently feed it through the steel mesh that you removed from the sink hose.  Did I mention to remove the mesh from the sink hose?  Yeah, do that too.


2) Wrap threads with the teflon tape and assemble them to create the valve structure, inside and out.
That picture is blurry, sorry, but from left to right it is: hose, hose barb screwed into valve,  3/8" FIP x 1/4" FIP connector screwed into the valve, 1/4" MIP nipple. Gap.  3/8" FIP x 1/4" FIP connector, 3/8" MIP nipple, 3/8" FIP hose barb, hose.

You may be asking, "Jim, why use the 1/4" MIP nipple and connectors and not just run the 3/8" nipple straight from the valve to the hose barb?"  The answer is, the 3/8" MIP nipple is to big to run through the rubber grommet and washers.  Thus, I had to down step the pipe that passed through the hole on the cooler.

3) Screw the two pieces together.  Use washers to add strength and water-tight integrity on both sides of the hole.  Look closely at the left picture to see how many washers I had to use to seal the gaps.


4) Attach the mesh manifold.  If you look closely you will see that I did not clamp the hose down between the brass and nylon hose barbs.  I did that for cleaning purposes.


Now that the mash tun is complete, let's try it out.

1) Add grains.


2) Hot water.


3) Drain.  If you look under the valve you can see that the seal is not perfect.  But with ~6 gallons of very hot water inside for that long, this is an acceptable loss.


Mission complete!

Stop back later to see how this beer turns out.

Thursday, March 14, 2013

ON TAP: Junkyard Dog

Now on tap, Junkyard Dog.  An American pale ale.  The name was inspired by a couple bags of extra hops I had sitting around.  Trying to stay budget friendly with this batch of beer I used up scraps on hand.

The characteristics I wanted to impart was golden color, an American wheat beer body, and a thick, aromatic head.

The hops used, 1/2 oz. Galenea added at boil, and 1 oz. added at 10 mins and 5 mins, both gave a nice mixture of citrusy, almost grapefruit flavor, and pine notes.

I used 9 lbs. US 2-Row Pale malt, 1 lb. Cara-Pils, 1 lb. Biscuit malt, and 1 lb American Wheat.

This production was standard to my current technique of a single rest mash at ~152 dF for 60 minutes, which had some natural temperature fluctuation, ~167 dF mash out for 15 minutes, and a single sparge at ~171 dF.  Note: the mash tun that I originally built (not documented anywhere), which used a CPVC manifold, was destroyed in the process - details withheld due to embarrassment.

From a 60 minute boil I finished with just under ~6 gal of wort.  Since my kettle does not have a drain valve, and I rely on the ol' dump and strain method into my fermentation bucket.  I allot for a greater total volume to compensate for kettle loss.  In the future I will either modify my kettle to allow for straight gravity draining or invest in a new kettle (I'll also get some conicals, and eventually a 1bbl, and maybe my own awesome brewpub).  For now, this is how I make it work. 

I used White Labs 006 American Ale blend.

Fermentation was slow for the first 60 hours and became very vigorous after 72 finishing ~6 days later.  At first I was concerned with my choice of location.  I recently moved my supplies out of an interior closet, which was ~70 dF but varied with the outside temp due to drafty doors and poor floor insulation, into my furnace room which is all concrete/brick sitting 3 ft. below ground level.  This spot held the beer at a steady 64 for ten days.  On day 10 I moved the carboy into my keezer to cold crash for 3 days prior to kegging.

Some may argue 13 days is a short turn-around.  My response is simply, brewing is a new adventure to me.  I lack the patience and experience to let beers sit around forever.  Cranking out batch after batch with short feedback timelines is probably more beneficial to learning than brewing sequential batches without drinking it all the opportunity to test the product before moving on.

At the end of the day, this is a nice, refreshing, good to the last drop ale.  My wife, who is extremely unfiltered in her critiques, says it reminds her of Sam Adams Cherry Wheat, minus the Cherry.  After a few glasses, I concur.

Cheers!


Saturday, March 2, 2013

UNDER CAP: Olde Rich Bitch


Olde Rich Bitch is the first beer where I worked out the recipe, mashed the grains, and took a leap of faith.

The concept was an English style porter, with a dark, but not completely opaque, color and roasted body.  To that I added coffee, chocolate and other natural adjuncts.

Sticking with my dog theme I gave it the name Olde Rich Bitch.  The inspiration is the stereotypical old rich bitch who likes her coffee, chocolate, and beer.  Fitting, I think.

The resulting product is a wonderfully delicious porter, with all the characteristics of a professionally brewed beer.  The aroma is rich, unadulterated coffee which follows into a brilliantly smooth flavor balanced with distinct, but mild chocolate.

What worked for me is adding whole coffee beans, and the unsweetened dark chocolate bar into a steeping bag.  I steeped that the last 15 minutes of my boil and left it in all the way to transferring to my fermentation bucket.  I was cautioned before doing this that it probably would not work, but it did.

The only fault with this beer is there are still a lot of coffee particles in suspension; similar to the particles after drinking a nice french press coffee.  Some of these particles collect and form a ring around the neck of the bottle.

All in all this is a fantastic beer, and a great success for my first all grain!